Window tinting film for your car.
"Give your car some shades"
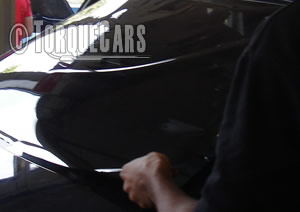
Blacked out windows look fantastic. They also give some extra privacy and keep the heat down inside the car.
So is it easy to do yourself? What tools do you need? Get some car window tinting tips from this article.
However regulations in most countries insist that there is a certain amount of light transmitted through the window to the driver. In reality this pretty much rules out any kind of tint on the windscreen and often the front side windows.
Check your local regulations, sometimes these apply to vehicles of differing ages. Remember also that regulations can change so getting the darkest tint which is currently legal is not always the best option.
There is a lot more to tinting than the blackout film. Pretty much any colour and grade of tint is available and even a selection of mirrored finishes.
The film comes in a variety of forms and installation is usually much neater if done by a professional installer although it is possible to do a reasonable job at home if you have a good quality window film and are prepared to take your time.
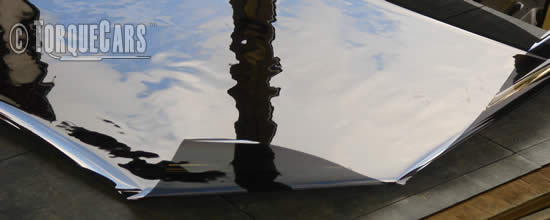
First off follow the instructions that came with the film, not all films require a heat application and will not shrink to fit. Some films require that you coat the glass with an IPA solution and then put on the film. Getting this wrong for the sake of not reading the instructions can be a very expensive mistake.
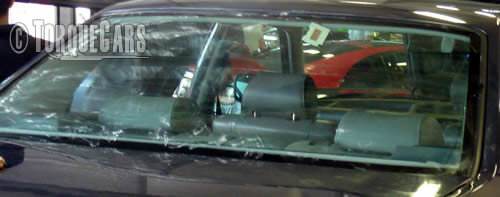
Your work area needs to be dust free and clean.Tools required, spray bottle filled with distilled water, heat gun, rubber blade or squeegee, good quality cloth - we recommend micro fibre or felt and a sharp craft knife with a short blade. For most windows you will get a much better looking finish if you remove the rubber/plastic trim in accordance with your manufacturers instructions. (Don't forget to wind the door windows down slightly so the film touches the top of the glass because it looks unsightly otherwise when the window is wound down.)
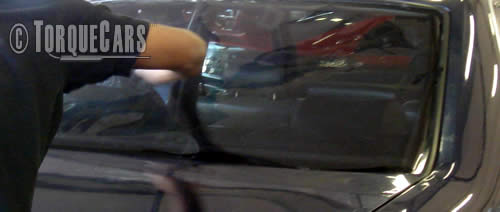
Trim the window tint allowing for shrinkage when you apply heat. Clean the glass thoroughly then apply a mist spray of water then lay the film over the window.
Work from the top left corner working out the bubbles with the squeegee in a diagonal line across the window. Use the heat gun to shrink the film evenly to the glass and this causes the water to evaporate and gives a good adhesion. Patience is key, and you must avoid the temptation to unpeel and start over. Keep working away at the bubbles and they will go.
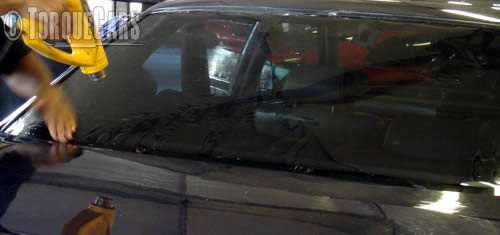
Trim off the excess and work the edges into the seams with the squeegee blade. Refit the plastic/rubber trim and you are finished and own a cool looking car.
If you liked this page please share it with your friends, drop a link to it in your favourite forum or use the bookmarking options to save it to your social media profile.
Check out TorqueCars new YouTube channel, and see their awesome new content...
Feedback
Please use our forums if you wish to ask a tuning question, and please note we do not sell parts or services, we are just an online magazine.
Help us improve, leave a suggestion or tip
